Precision Ski Rent - Blog
Préparer son séjour au ski
Destinations et activités
The best resorts for skiing in February
Préparer son séjour au ski 10/01/2025 See more
The most beautiful ski resorts in France
Destinations et activités 12/12/2024 See more
8 must-do activities in Peisey-Vallandry this winter
Destinations et activités 12/12/2024 See more
Les Menuires or Val Thorens: which resort should you choose for your next holiday?
Destinations et activités 10/12/2024 See more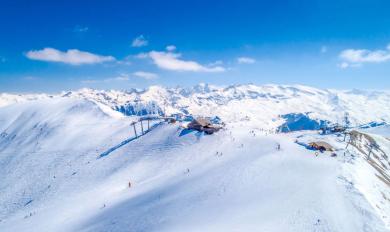
Risoul: skiing, scenery and thrills!
Destinations et activités 03/12/2024 See more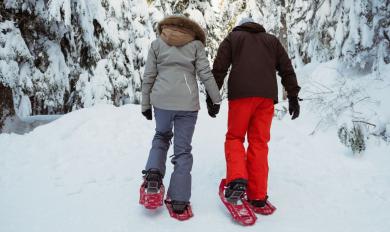
Top 10 reasons to stay in Puy Saint Vincent
Destinations et activités 29/11/2024 See more
Châtel: Skiing for all, with direct access to the Portes du Soleil!
Destinations et activités 27/11/2024 See more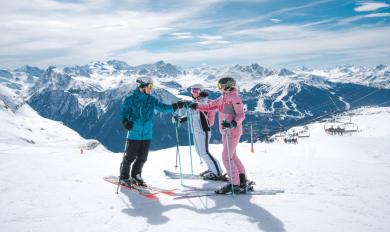
Montchavin: what if your next ski holiday was unforgettable?
Destinations et activités 25/11/2024 See more
Les Coches: why this resort is your next ski destination
Destinations et activités 19/11/2024 See more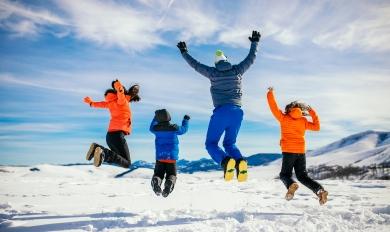
Le Grand Bornand: Would you like to try everything on snow?
Destinations et activités 15/11/2024 See more
The best ski resorts near Lyon
Destinations et activités 15/11/2024 See more
7 reasons why Val Cenis is going to be your favourite resort
Destinations et activités 14/11/2024 See more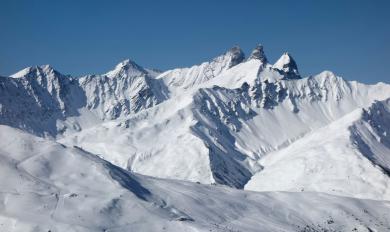
A perfect day in Valmeinier: itinerary for skiers and non-skiers alike
Destinations et activités 14/11/2024 See more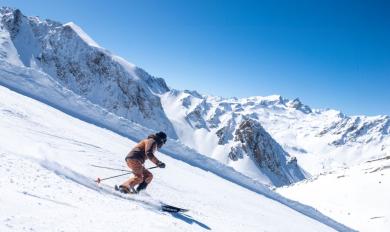
Top 5 reasons to choose Valfréjus for your winter holidays
Destinations et activités 07/11/2024 See more
The best ski resorts near Geneva, less than 2 hours away
Préparer son séjour au ski 05/11/2024 See more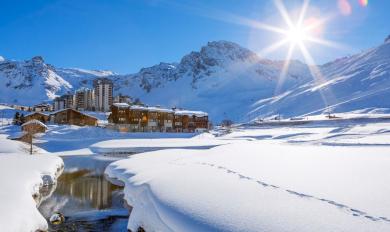
Skiing easily from the capital: the best destinations from Paris.
Destinations et activités 05/11/2024 See more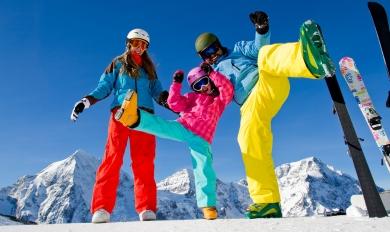
Valmorel ski resort: Savoyard authenticity for top holidays
Destinations et activités 04/11/2024 See more
The legendary slopes of Val Thorens : Descend legends with the perfect equipment!
Destinations et activités 04/11/2024 See more
Avoriaz: the ski-in/ski-out resort
Destinations et activités 28/10/2024 See more
A week exploring the Saint-François Longchamp ski area
Destinations et activités 25/10/2024 See more
Top 5 reasons to choose Precision Ski for your ski equipment hire in Bourg-Saint-Maurice
Préparer son séjour au ski 17/10/2024 See more
Les Gets, between skiing and relaxation: well-being within easy reach
Destinations et activités 16/10/2024 See more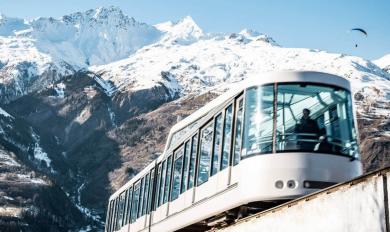
Ski resorts accessible by train
Préparer son séjour au ski 15/10/2024 See more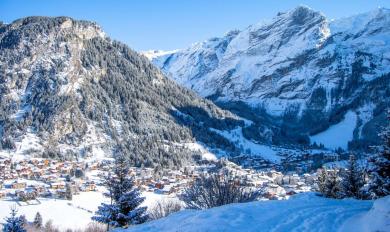
8 good reasons to come to Pralognan-la-Vanoise
Destinations et activités 19/09/2024 See more
Ski hire in Les Eucherts: discover our shops for a premium ski experience
Préparer son séjour au ski 17/09/2024 See more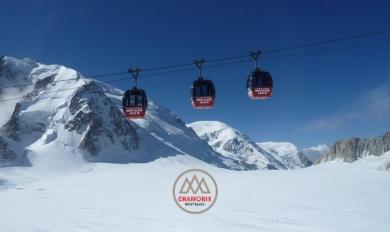
Conquering Chamonix: Are You Up to the Challenge?
Destinations et activités 16/09/2024 See more
Val d'Isère: The epicentre of Alpine excellence
Destinations et activités 28/06/2024 See more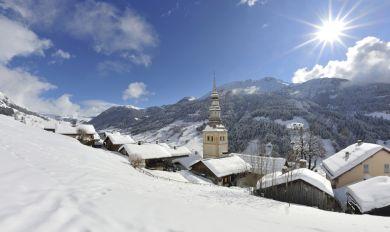
Enjoy skiing in the sun at Les Saisies
Destinations et activités 25/06/2024 See more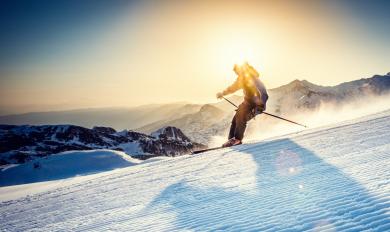
Where to ski in April?
Destinations et activités 08/03/2024 See more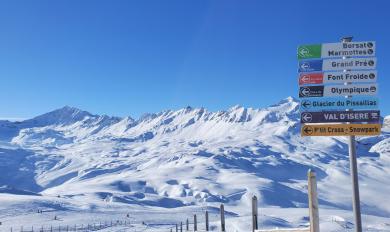
Which ski resort to choose?
Destinations et activités 06/03/2024 See more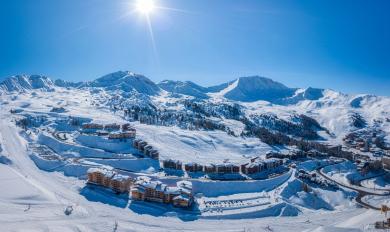
What to do in La Plagne?
Destinations et activités 09/02/2024 See more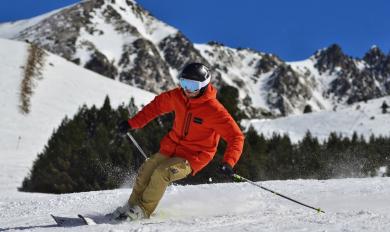
How to progress in skiing?
Préparer son séjour au ski 10/01/2024 See more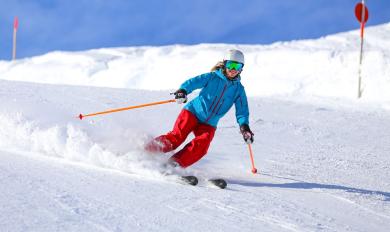
How to choose your ski pack?
Préparer son séjour au ski 22/12/2023 See more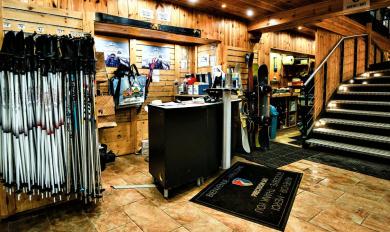
Buy or rent your ski equipment?
Préparer son séjour au ski 14/12/2023 See more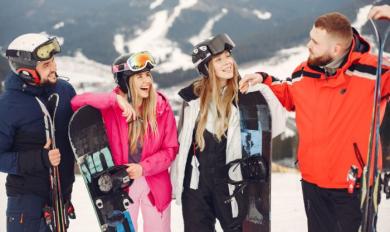
How to dress for skiing?
Préparer son séjour au ski 06/12/2023 See more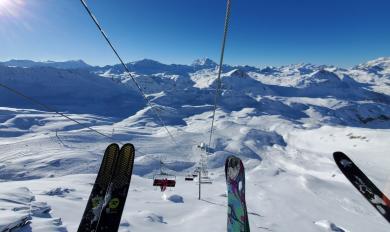
Opening dates of ski resorts in France
Destinations et activités 22/11/2023 See more
Why take out ski insurance?
Préparer son séjour au ski 10/11/2023 See more
Snowboard and Ski: One Board or Two?
Préparer son séjour au ski 07/10/2022 See more
Travel to Iceland: THE destination for ski enthusiasts.
Destinations et activités 07/10/2022 See more
Ski Sign Guide
Destinations et activités 07/10/2022 See more
Getting Started in Skiing: All Our Tips
Préparer son séjour au ski 04/10/2022 See more